“`html
How to Use a Pasta Maker Machine
Nothing compares to the taste and texture of freshly made pasta. With a pasta maker machine, you can transform simple ingredients into delightful pasta dishes right in your kitchen. This guide will walk you through the process, from mixing and kneading the dough to using the pasta maker and cooking your homemade noodles. Whether you’re a seasoned chef or a novice in the kitchen, you’ll find these steps easy to follow. Say goodbye to store-bought pasta, and immerse yourself in the art of homemade pasta-making with this comprehensive tutorial. Let’s dive into the essentials and unlock the secrets of fresh pasta.
The Beauty of Fresh Pasta
There’s an unparalleled satisfaction in making fresh pasta at home. Unlike dried pasta, fresh pasta offers a tender, silky texture that enhances any dish. When you create pasta from scratch, you have the freedom to experiment with various flours and flavorings to perfect your recipe.
Moreover, making pasta is not just about food; it’s about the experience and a journey into culinary art. Using a pasta maker machine simplifies the process, allowing you to replicate time-honored Italian techniques with precision. So, let’s explore the essentials required to bring the taste of Italy into your home.
Combine the Ingredients
To begin your homemade pasta adventure, start by gathering the ingredients. The basic recipe requires just three components: flour, eggs, and a pinch of salt. For traditional fresh pasta, Italian ’00’ flour is an excellent choice due to its fine texture, though all-purpose flour works well too.
Typically, the ratio is 100 grams of flour to one large egg per serving. However, you can adjust the quantities depending on how many people you’re serving or the consistency you prefer. By incorporating additional flavorings such as herbs or spinach, you can also elevate your pasta’s taste.
Mix the Dough
Begin by creating a mound of flour on a clean work surface. Make a well in the center, akin to a crater, and crack the eggs into this space. Add a pinch of salt. Use a fork to lightly beat the eggs, gradually incorporating the flour from the well’s edges, forming a cohesive mixture.
Once the mixture forms a shaggy mass, use your hands to bring the dough together. It might feel sticky initially, but as you continue working it and incorporating more flour, the dough will start to solidify and become more manageable.
Knead the Dough
Place the dough on a lightly floured surface and begin kneading it with the heel of your hand. The process is akin to working a bread dough and requires a bit of muscle. Kneading develops the gluten in the flour, yielding the elastic texture characteristic of good pasta dough.
Continue kneading the dough for about 8-10 minutes, or until it becomes smooth and elastic. If the dough is too sticky, sprinkle it with a little more flour, but be cautious not to add too much as this can make the dough dry and tough.
Wrap and Rest
Once the dough is kneaded to perfection, shape it into a ball. Wrap the dough securely in plastic wrap to prevent it from drying. Allow the dough to rest at room temperature for at least 30 minutes. This resting period allows the gluten to relax, making it easier to roll out.
Resting the dough also ensures optimal texture after cooking, resulting in softer, more delicate pasta. It’s a step that cannot be overlooked if you want the best results. If you’re prepping ahead of time, you can refrigerate the wrapped dough, but make sure to return it to room temperature before rolling.
Divide the Dough
After resting, unwrap the dough and cut it into manageable portions using a sharp knife or a dough cutter. Dividing the dough helps to maintain control when rolling it out with the pasta machine. A quarter or a third of the dough is generally a good portion to start with.
Keep the unused dough portions wrapped to prevent them from drying out. If the edges of the dough begin to dry, it might cause them to tear during the rolling process, so make sure they stay covered until you’re ready to use them.
Flatten
Flatten the dough with the palms of your hands or a rolling pin to form a rough rectangle. This initial flattening helps the dough to pass smoothly through the pasta machine. Dust both sides of the dough lightly with flour to prevent it from sticking to the machine’s rollers.
The flattened dough should be thin enough to fit comfortably into the pasta machine’s widest setting. If it’s too thick, continue rolling it out until it reaches the appropriate size, ensuring a smoother transition when you begin using the machine.
Begin Rolling
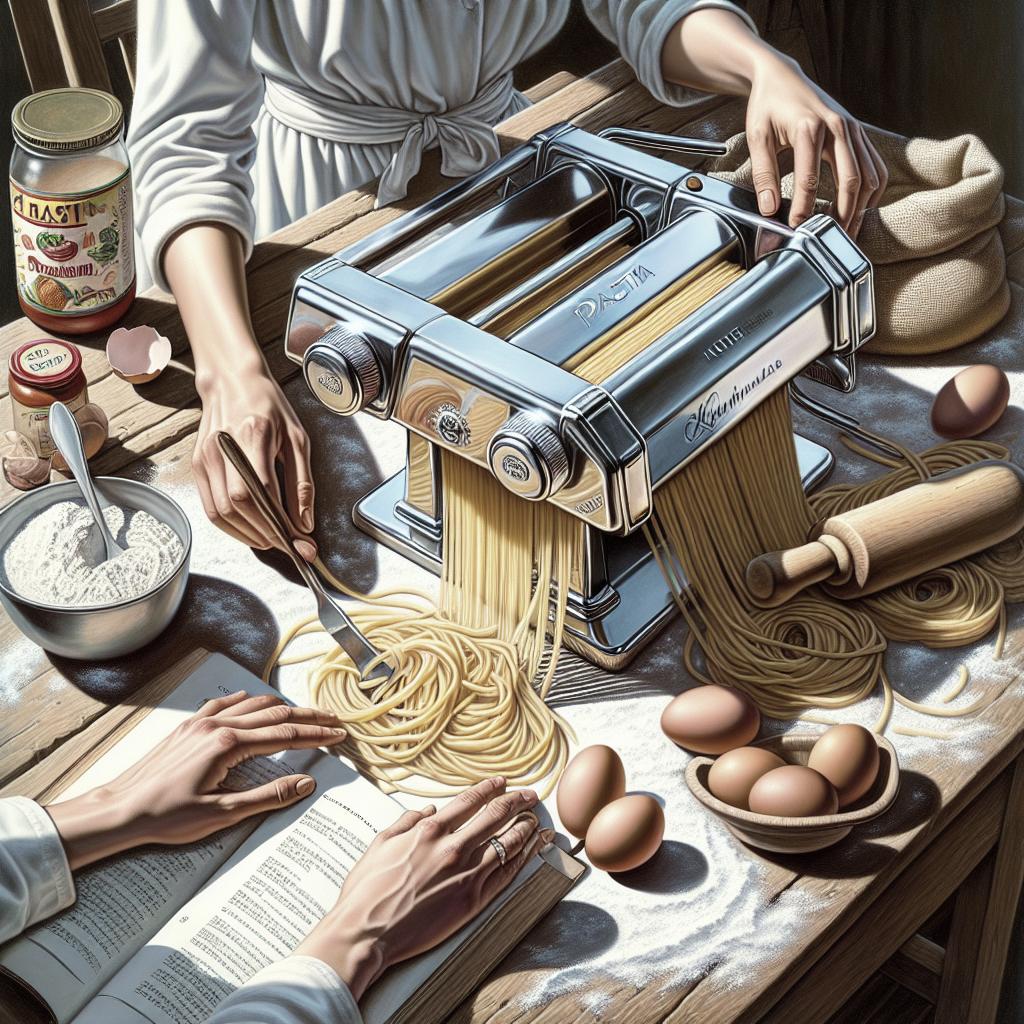
Set your pasta machine to the widest setting and feed the flattened dough into the rollers. Use one hand to guide the dough through while cranking the machine with the other. If the dough tears or cracks, simply fold it in half and pass it through again.
Gradually decrease the roller width, passing the dough through several times per setting. While rolling, it’s important to maintain even pressure, ensuring that the dough consistently thins out. Regularly dust with flour to keep the sheet from sticking.
Fold the Dough
As you roll the dough through the machine, you’ll encounter areas that may become uneven or excessively wide. You can address this by folding the dough like an envelope and passing it through the widest setting of the machine again. This step aligns the edges.
Continue this process until the dough achieves a smooth, even texture with the correct width. Folding and re-rolling help create layers within the pasta dough, enhancing its texture and elasticity, ultimately resulting in a finer pasta sheet.
Feed the Dough into Machine Again
Once satisfied with the dough’s texture, continue feeding it through the machine, narrowing the settings with each pass. Progressively move to thinner settings until achieving your desired thickness. Keep in mind that the thinner the pasta, the more delicate it will be after cooking.
Each pass through the machine should yield a longer, thinner sheet of dough. If necessary, you can cut the sheet if it becomes difficult to manage. Consistently sprinkle flour on both sides to maintain smooth operation and prevent sticking.
Form the Sheet of Pasta
After achieving the desired thickness, lay the sheet of pasta on a lightly floured surface. Inspect the sheet for any tears or inconsistencies; minor imperfections are fine and can be adjusted later. Make sure the sheet is evenly floured to facilitate handling.
If the sheet becomes excessively long, cut it into shorter lengths for easier handling. Examine the sheet’s consistency and uniformity before continuing. Once satisfied, you’re ready to cut the pasta into your desired shape, be it tagliatelle, fettuccine, or any style you prefer.
Form the Noodles
Attach the cutting accessory to your pasta maker that corresponds to your preferred noodle style. Pass the pasta sheet through the accessory to cut it into noodles, being mindful to flour the sheets beforehand to avoid sticking.
After cutting, carefully lay the noodles onto a floured surface, or hang them on a drying rack. This prevents them from becoming a tangled mess. Pay close attention to the texture and thickness, ensuring even cuts for uniform cooking.
Keep the Finished Noodles From Sticking Together
To keep freshly cut noodles from sticking, lightly dust them with flour. Spread them out on a baking sheet or hang them on a drying rack. This allows them to dry slightly, preventing clumping when cooking.
If you’re delaying cooking, store the noodles in single layers separated by parchment paper in an airtight container. Refrigeration or freezing is possible, but fresh flavors and textures remain at their best when cooked and enjoyed immediately.
Cook and Sauce the Pasta
Cooking fresh pasta is a quick endeavor. Bring a large pot of salted water to a boil. Gently add the pasta, stirring initially to prevent sticking. Fresh pasta typically cooks within 2-4 minutes, depending on thickness.
Once cooked, drain the pasta and toss it with your favorite sauce while still warm. Homemade pasta pairs beautifully with a variety of sauces, from simple aglio e olio to rich bolognese. The fresh dough absorbs flavors exquisitely, enhancing every bite.
Lessons Learned
| Step | Description |
|---|---|
| The Beauty of Fresh Pasta | Understanding the unique texture and flavors of homemade pasta. |
| Combine the Ingredients | Gather flour, eggs, and salt to prepare the dough base. |
| Mix the Dough | Use the well method to integrate ingredients into a cohesive dough. |
| Knead the Dough | Develop gluten and elasticity through proper kneading techniques. |
| Wrap and Rest | Allow the dough to rest, softening its texture for easier handling. |
| Divide the Dough | Cut into manageable pieces for easy rolling and shaping. |
| Flatten | Prepare dough pieces for machine processing with a rolling pin. |
| Begin Rolling | Pass dough through each setting on the pasta machine to thin it. |
| Fold the Dough | Correct inconsistencies by folding and re-rolling the dough. |
| Feed the Dough into Machine Again | Achieve desired thickness by progressively tightening machine settings. |
| Form the Sheet of Pasta | Prepare evenly-thinned sheets for cutting into noodles. |
| Form the Noodles | Use cutting accessories to fashion noodles from the pasta sheet. |
| Keep the Finished Noodles From Sticking Together | Dust noodles with flour and prepare them for cooking or storage. |
| Cook and Sauce the Pasta | Boil noodles quickly and pair with your preferred sauce for serving. |
“`


